Friday, October 21, 2011

Filing Cabinet Revamp

My mom came to visit a couple of weeks ago - and when she is here I take advantage of her as much as I can! We sewed, and sewed, and sewed! After she leaves it always makes me motivated to keep on with all my projects. We re-did the guestroom (and others)  on this trip and turned it into craft room/guestroom instead of home office/guestroom. I needed a place to keep all my files and extra craft items so I bought an old filing cabinet and decided to vamp it up a little!

Old filing cabinet on craigslist for $20


I spray painted the cabinet a nice cream color (2 cans of spray paint $8)


I removed the drawers and the hardware

Next I cut out a piece of fabric slightly larger than the face of the drawer (Fabric on sale at Hobby Lobby $4 a for a yard - didn't even use 1/2 a yard though so I will make a pillow out of the remaining fabric)


I didn't have any Modge Podge around the house so I made my own by mixing equal parts Elmer's glue and water (I put mine in a old water bottle I had and shook it up really well). Next I coated the front of the drawer face really well with the glue and laid the fabric on top smoothing it out so there were no air bubbles or creases. I used clothespins to hold the edges down (it didn't take it long to dry at all)


I know no one was going to see the back so I didn't do a perfect job but i did make sure to tuck the corners nice and neat. I reattached the old hardward because it wasn't in bad condition.

Finished product! I am so happy about how it turned out and for around $30! It goes really well with my new craft/sewing table I made (It's currently a mess so I did not include a picture - but will as soon as it gets cleared off)


Here are a few more project my mom and I worked on while she was here! Sorry I do not have tutorials on them!
Master bathroom curtain:

New fabric book "shelf" in Jasper's room - it's perfect for him to get the books out himself:


Guest bathroom curtains:

Thursday, August 25, 2011

Fabric Key Chain

I love to make these and I think they are so great and handy! Here is my tutorial on how to make them. If you don't know how to sew or would like one please let me know and I can make one for you. Ok here we go!


What you will need:
Fabric of choice (matching thread)
Corresponding ribbon (machine thread)
Swivel Hook
Interfacing

Step 1 cut a strip of fabric that is 3inches wide and 15inches long.


Step 2 you will fold the fabric in 1/2 long ways with the pattern on the inside (so the back of the fabric is showing) then you will iron this so you will have a crisp line


Step 3 cut a strip of interfacing that is 1inch wide and 14inches long and then iron it on one side of the fabric


Step 4 Sew down on each side of the fabric (still will be inside out) I did a zig-zag stitch and I went over it twice


Step 5 turn your fabric right side out - I do this by attaching a large safety pin on one end of the fabric and working it's way up until the fabric is right side out


Step 6 Iron the fabric so it is nice and flat for you.

Step 7 You will take your Purse Swivel Hook (I found mine here: http://www.lanyardsupply.com/) and you will slide this on your fabric


Step 8 Next you will loop the fabric into a circle and overlap the 2 raw edges and sew over the edges to connect the 2 sides (Once you have sewn this cut any excess off)


Step 9 Take the swivel hook and slide it down towards the edge where you just sewed and cut a piece of ribbon (about 3 inches long - you will be covering up that seem you just sewed with this fabric)


Step 10 You will wrap the ribbon around the seem (that connected the fabric together) and next you will tuck the 2 edges of the ribbon into the opening - then iron this so it will stay when you sew this on


Step 11 Sew on the edges of the ribbon (I just sewed the 2 edges - you could sew 4 so it would be in a square)


Step 12 Enjoy your new fabric key chain!

Tuesday, August 16, 2011

Make your own Window/Glass cleaner!

I've been making my own glass cleaner for a while now not only because it's super easy to make but also because it is very cheap to make - not to mention it works GREAT! I made a double batch today so it would fill up my entire bottle - but here is the original recipe:

1 Cup water
1 Cup rubbing alcohol
 1 Tablespoon vinegar


I put mine in an old glass cleaner bottle. Check out my before/after photos!

Notice all the hand prints

Clean and streak free!

This is my small round make up mirror

Nice and clean

Monday, August 8, 2011

Homemade Fruit Roll Ups

I wanted a good snack food to give Jasper and I have let him have like 1 fruit roll up before and I know how packed full of sugar and artificial flavors they are so I decided to make my own! I looked up a lot of different recipes couldn't find one I really liked so here is what I came up with!

Ingredients:
2 packages of strawberries (or whatever fruit you like)
applesauce (you can always make your own)


Next you will chop the strawberries


In a pan add the strawberries and I used 1/2 cup of applesauce (you can always use less or more)


Simmer the strawberries and applesauce until the strawberries are soft enough to mash


Next pour in your food processor & blend (By the way thank you to my wonderful mother-in-law Tammy who gave me her old one after reading my post on laundry detergent and seeing that mine was so small!)


Now you will pour the puree onto a parchment lined cookie sheet with a lip (I also sprayed mine with Pam)


With a spatula spread puree around until it's in a rectangle and I also tapped the cookie sheet on the counter top to even everything out


Here is the time consuming part... you can either leave it in the over on the lowest temperature possible - mine took 2 days to completely dry out, or you could leave outside in the sun but be sure to put a piece of cheesecloth over top (I didn't have any around the house - so I haven't tried this method)


When it is completely dried out (it will be tacky to the touch) take out and cut into strips (I just used my kitchen shears). I rolled mine up in the parchment paper, and stored in a Ziploc baggie!

Jasper really loves them... and so does Jordan. At first he was making fun of this until he tried them!

Tuesday, July 19, 2011

Hummus Recipe

My best friend Emily Fowler shared this amazing recipe for Hummus with me! I made it today - and it is too good not to share with everyone!

2 (15.5oz) cans no-salt-added Chickpeas (Garbanzo beans) - rinsed and drained
2 garlic cloves
1/2 cup water
1/4 cup tahini (sesame seed paste)
3 Tablespoons lemon juice (fresh)
2 Tablespoons extra virgin olive oil
3/4 teaspoon salt
1/4 teaspoon pepper


 Step 1: Rinse and drain the Chickpeas


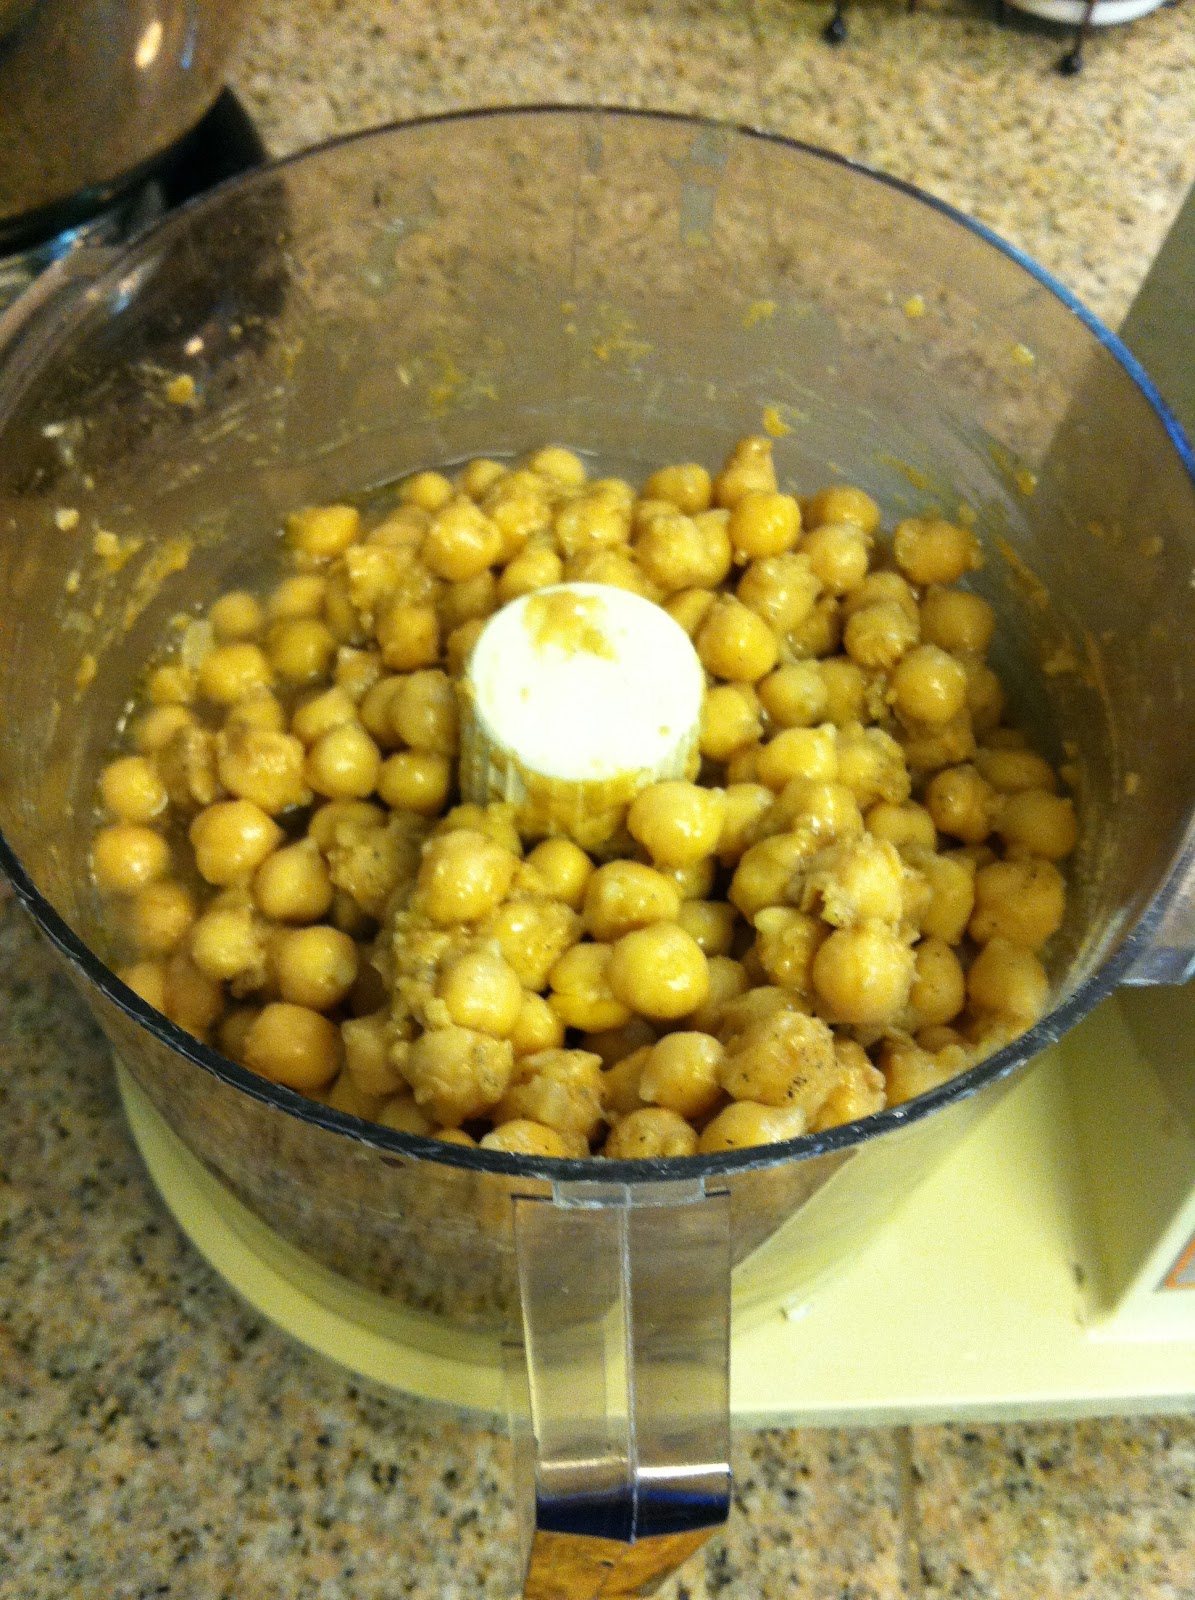
Step 2: Put everything in the food processor & blend


Step 3: Taste to see if it needs anything extra (I added more salt, pepper, and garlic)


Step 4: Enjoy!