Thursday, January 26, 2012

Homemade Corn Tortillas

There are many things I try and make homemade instead of buying. Not only is is usually cheaper but it's also better for you! So we are having Fish Tacos for dinner tonight and here is my recipe for Corn Tortillas.


Ingredients:

2 cups MASA
1 1/8 cups water
1/2 t. salt (I used Kosher)

Equipment you will need:

Tortilla press (if you don't have one you can use a rolling pin)
Large Ziplock bag
Large skillet (I used my cast iron skillet)
Mixer & Knead hook (optional - you can do this buy hand)


Measure out all the ingredients and add to your bowl. I turned the mixer on low and let it go. I had to occasionally turn off the mixer and scrape the sides. You want the dough not to crumble so I ended up having to add about 4-6 Tablespoons additional water (just do 1 at a time). Once the dough has come together let it knead for 3 minutes


Note: This dough won't gather on your dough hook like a flour based dough.


While the mixer is hard at work get your Ziplock bag and you will need to cut it open leaving only the bottom seam intact. I even cut off the zipper part - it will look like a huge triangle when you are done.


Once your dough is done you will start forming balls. I just try and get them about all the same size. Once you are done rolling all the balls cover with a damp towel.


Look at the little sweetie "helping" momma. :)


Ok next you will lay the open Ziplock baggie on the tortilla press.


(If you do not have a press you will just lay the ball of dough in between the baggie and gently roll it out with a rolling pin)


 Place the dough in the middle of the press then I usually lay the other side of the baggie on top then close the press and apply gentle pressure. You don't want to completely flatten the tortillas you still want it a little thick.


 Next gently remove the tortilla off the baggie


Then place on a hot skillet. Cook 1 minute on each side.


Wrap in foil (or if you are fancy enough to have a tortilla holder put them in there). Tonight I will just stick them in oven on low for a few minutes to warm them through!

Wednesday, January 25, 2012

Homemade Dishwasher Detergent

So here is another thing I have figured out to make for super cheap and it works so well! Here's what all you will need.

1 cup Borax
1 cup Washing Soda
1/2 cup Kosher Salt
1/2 cup Lemi Shine


You will find the Borax and Washing soda in the Laundry section of the store and the Lemi Shine near the Dishwasher Detergent.

First I measure out the Washing Soda and the Borax and sift it so I can get all the clumps out.
My Lemi Shine and Kosher salt are too thick to go through my sifter so I just add them in last. Stir the whole thing together.


The Lemi Shine has a tendency to make this mixture rock hard or clumpy so I added some rice - I put mine in a coffee filter since I was fresh out of cheesecloth, tied it with some kitchen twine and threw it in the bottom of the jar I was using.


Pour the detergent into whatever container you are using. 1 Tablespoons per load of dishes. I doubled the batch this time - and this will last me many months (and I usually run the dishwasher everyday). You can also use vinegar in Rinse compartment instead of Jet Dry.


When doubling the batch this still only cost me around $5 to make and I still have Borax and Washing Soda left over for another batch of Laundry Detergent!

Sunday, December 11, 2011

Christmas Wreath

I wanted a new wreath for my door for this Christmas because my old one needed to be retired. I saw this one on pinterest but saw no instructions for it so, I created my own.

Here is what you will need:

A straw wreath (leave plastic wrap on)
Yarn (I used white)
Felt (I used Red & Green)
Small jingle bells
Hot glue gun & glue sticks
Scissors
Needle and thread (thread needs to match the color of your felt)

Step 1:
Take your straw wreath and tie a knot and begin wrapping your entire wreath with the yarn. I found that wrapping the yarn really tight together works the best. (I'm really sorry but I have no pictures of this step!)


Step 2:
Depending on what type of flowers you want to put on your wreath make a cut out template of the shape you want. I wanted a Poinsettia look. Here are the patterns I used. The one in the top left is the pattern for the leaf and the rest are 3 different sizes of the petals I used.

Step 3:
Next trace around the stencil on to your piece of felt. I made 4 flowers for my wreath so I cut out 10 of the large petals, 18 medium petals, 6 small petals, and 4 leaves (this in the green felt).


Step 4:
Cut out all the petals and leaves (I made 2 sets of flowers - one for my sister's wreath so my hands were cramping by the time I got done cutting everything out). Now divide up all the different sizes of the petals into piles.


Step 6:
Place a small dot of hot glue in the middle of the bottom of the petal - then pinch the edges together (careful: hot glue gun might cause cursing and burnt fingertips). You will just glue and pinch together the medium and small sized petals (not the large petals or the leaves).


Step 7:
Next step you will thread your needle and I doubled my thread to make it more strong and tied a knot at the end. Next I took 6 petals (make sure they are all facing the correct way) and threaded them onto the needle. Now take your needle and you will loop it through down where the knot is so when you do this and pull it tight it will make all the petals pull together tight. I knotted this a few times and made sure all the petals were pulled really tight.


Step 8:
Now take 5 of the large petals and lay them down in the pattern you want. I laid out the pattern then would glue them after I got the pattern I wanted. I gently lifted the petals up one at a time put some glue down and laid it back down in the same spot.


Step 9:
Now take the petals that are sewed together and lay it down on the flat petals and find where it looks good. Now hot glue the entire flower on top of the larger flower.


Step 10:
I found these little jingle bells at Hobby Lobby and thought they would be great for the center of the flower. I squeezed out some hot glue on a paper plate and dipped the jingle bell in the glue then placed it in a triangle shape in the center of the petals (this covers up the imperfections too).


Note:
I made 2 of the double layered flowers and 2 of just the top flowers (the petals that were sewed together) so 4 flowers total.

Step 12:
Next take your wreath and see where you want to position your flowers and leaves. Once you have it in position hot glue them down.


I took a ribbon I already had and looped it around the wreath and tacked it in the top of my door. This whole project was less than $10 - but is pretty time consuming. But that is what crafting is all about right??

Sunday, November 27, 2011

Swiffer Reusable Cleaning Pads

About a year ago I started couponing - and found a great deal on a Swiffer Wet Jet so I bought one. I don't know really what I was thinking but hey I thought it would make my life easier. Eventually it just hung in the garage because I hated buying the expensive disposable pads for it. With an almost 2 year old little boy I sweep MULTIPLE times a day and mop about every other day (my kitchen and dining room are laminate wood floors). Here is my tutorial on how to make very inexpensive reusable swiffer wet jet pads.

What you will need:

Swiffer
Pack of inexpensive washcloths (I got mine at Walmart a 12pack for less than $4)
Velcro
Sewing machine and thread

Here is a picture of my Swiffer Wet Jet:


I bought a inexpensive pack of washcloths at Walmart (and washed them first)


Fold the washcloth in half


I next sewed around 3 of the 4 edges - leaving open a pocket on the end (next time I will sew closer the edge to give me a longer pad)


This is after sewing 3 of the 4 edges and next I will turn this inside out


Here is the open pocket at the end (Next time I will probably sew this about 1/2 way closed first and just finish the other 1/2 when I turn it inside out - so I don't have to sew such a large area closed)


Next I turned the edges inside and pinned the pocket closed. Then I sewed a top stitch all the way around the pad which sewed the pocket closed as well.


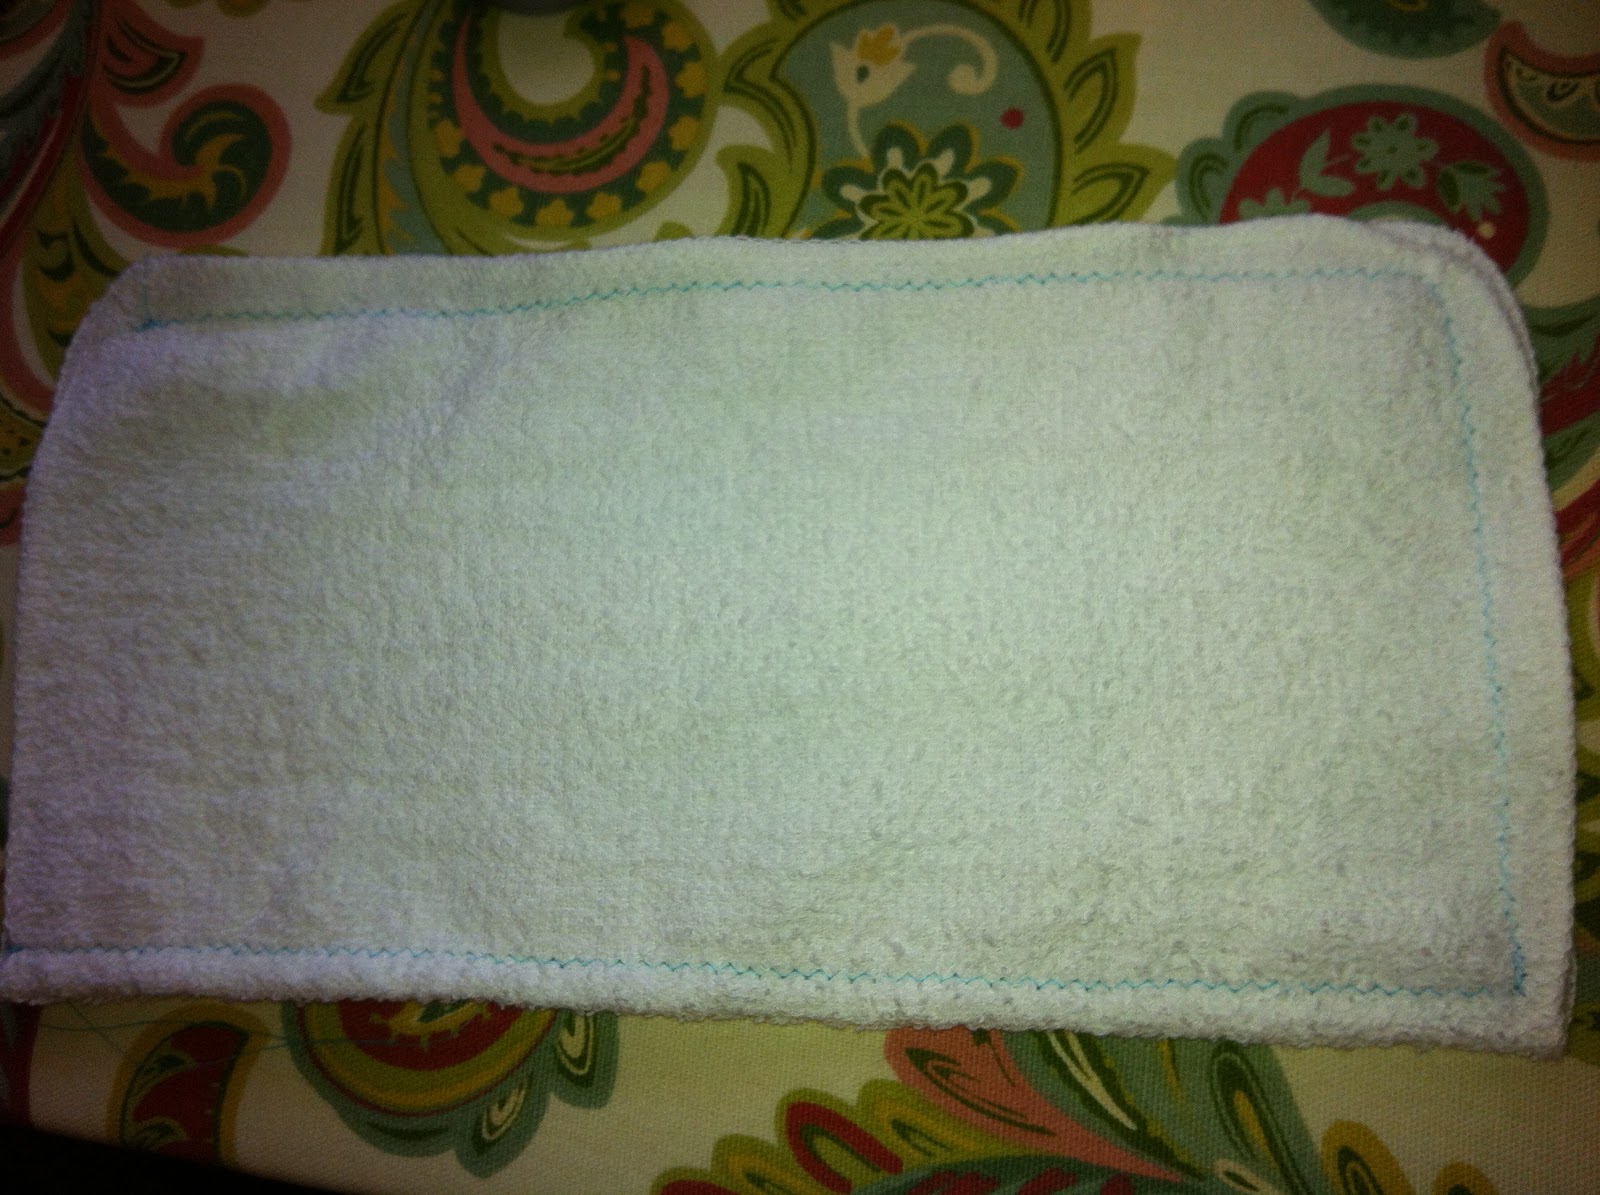
Here is the top stitch all the way around. I wanted to do this to give my pad some more durability since I knew I would be scrubbing with it and be washing it multiple times so I didn't want it coming apart. Also I thought it gave it more of a finished edge.


Here are my 2 pieces of Velcro. You will only need the soft part of the Velcro (since the prickly part of the Velcro is already on your Swiffer) So you will use the Velcro on the right in the picture below.


Next I measured the Velcro to go the entire length of my pad cut it and pinned it


I used a small zigzag stitch and went down both edges of the Velcro


Here is a closer look

Next attach to your Swiffer and go! Notice mine is a little short for my Swiffer so next time I will try and sew a little closer to the edges so I can get a little more length - but either way it works great! and I think they scrub better then the disposable pads.

I hope this tutorial will help your family save a little bit more! This whole project cost me around $10 and that was for 12 washcloths and the Velcro for all 12 pads. These reusable pads will last me a very long time. Especially compared to a 12 pack disposable cost around $7.