Wednesday, July 25, 2012

Pacifier Clip Revised

I cannot believe I haven't blogged since April! Wow! We we did find out we are expecting Baby Butler #2 in January, so that might explain my absence. I haven't been crafting as much during Jasper's nap time because its turned into my nap time as well! 

I had a baby shower this past weekend and made my friend a nursing cover (Blog instructional to come soon) and some pacifier clips. I know I have already done a blog on paci clips but I have found a much simpler and easier way to do this! 

Supplies: 
Fabric 
Iron/Ironing Board
Corresponding thread 
Sewing machine 
Suspender/Pacifier clips (mine had a 1" opening)
Velcro or Elastic 

Step 1: 
Cut your fabric into a 4 X 10.5 inch strip 


Step 2: 
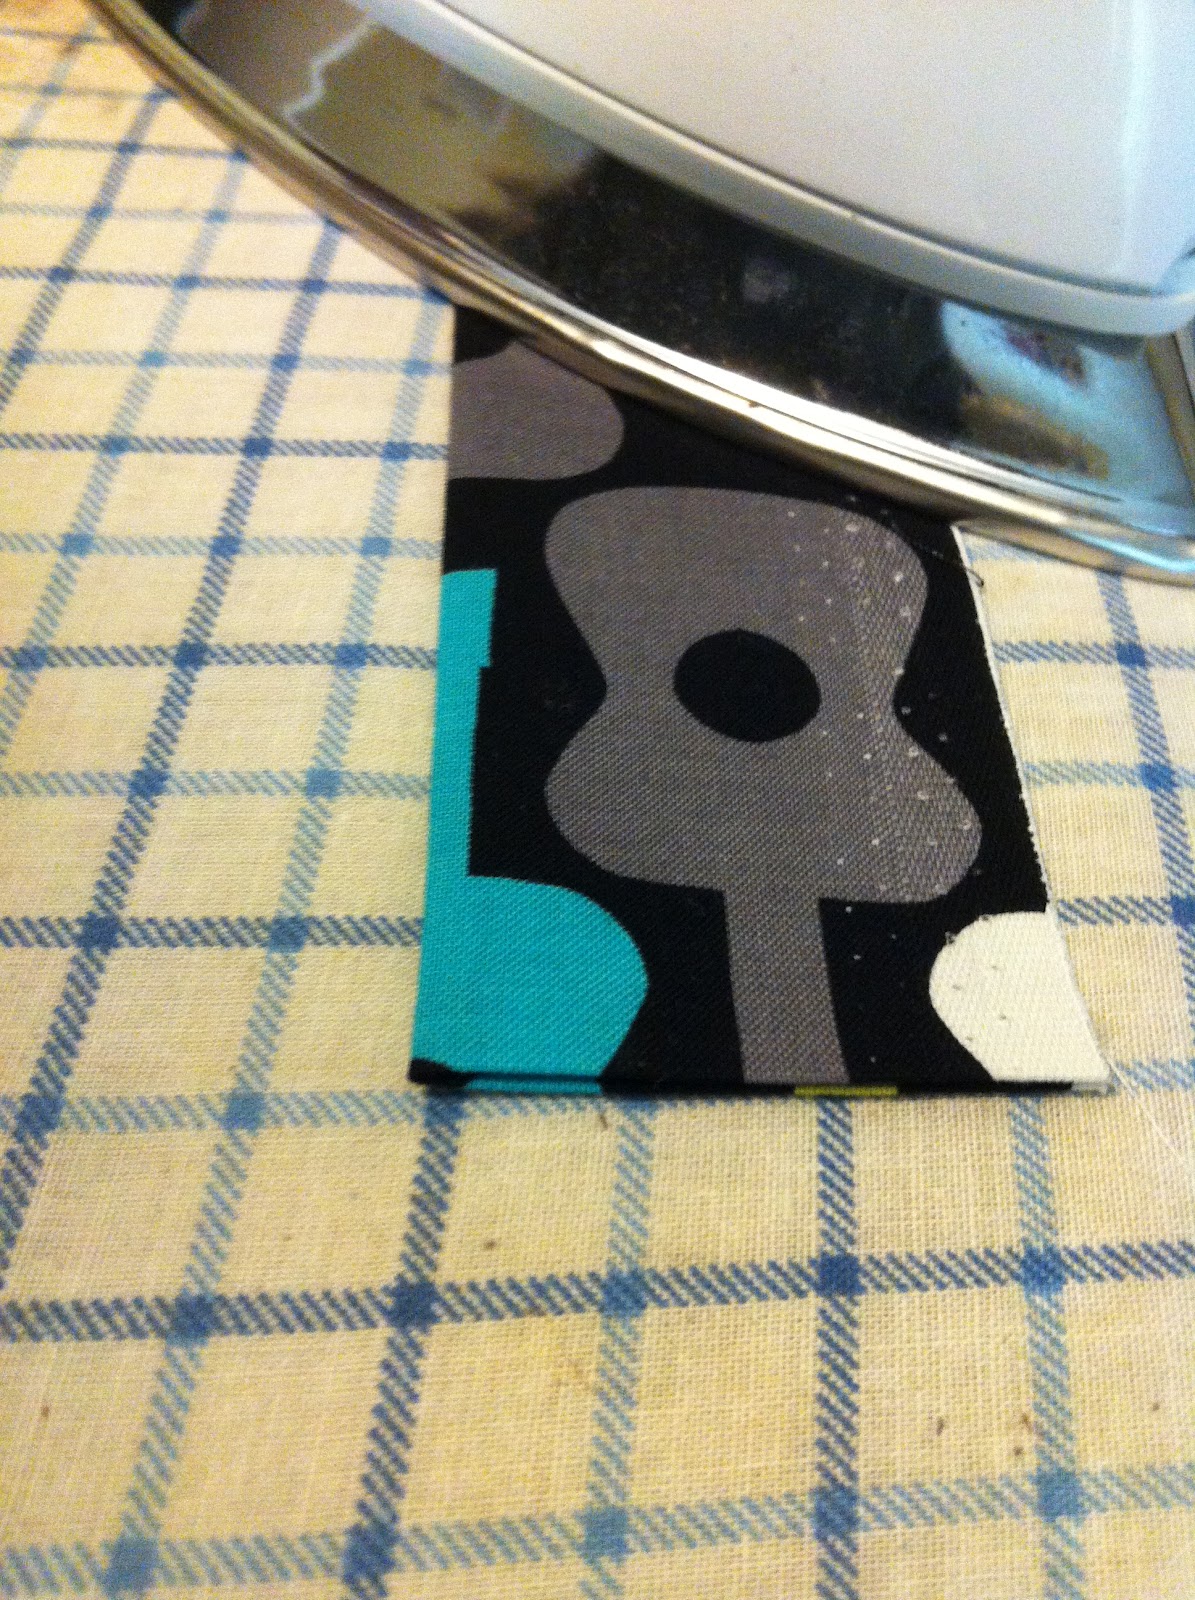
With the wrong side of fabric faced up iron a 1/4 inch crease on the short side of each fabric (see pic) 


Step 3: 
Iron fabric in 1/2 long ways (like a hotdog) the right side of the fabric will be showing (notice how the ends are nice and tucked in!)
 

Step 4: 
Open this long crease back up and fold both sides in towards the middle (the crease) and iron this down


Step 5: 
Iron fabric in 1/2 again (where we did the original crease in step 3) Now your fabric will be exactly 1 inch wide to fit into the suspender/paci clip


Step 6: 
Sew a 1/8 inch inseam down both side of the fabric (be sure to do a good back stitch when beginning and ending) 


Step 7: 
Place suspender/paci clip on of the ends and fold over the fabric and pin. Sew a straight line across (try and get as close to the clip as you can). Also make sure the back side of your pacifier clip and the folded back fabric are both on the same side. You don't want that back fold of fabric showing.


Step 8: 
This is the step where you can use either the elastic or the Velcro. I preferred the elastic because so many people use the Soothie pacifiers and the Velcro won't work with those. So here are the instructions for the elastic. Cut a 3-4 inch piece of elastic and fold into a loop. Place the ends of the loop into the other end of the fabric pocket (see picture). Put a pin in place to hold the elastic while you are sewing. Sew a straight line across. 


Step 9: 
Attach Pacifier of your choice and enjoy!

 
Here are some of the other ones I made for the shower. If you are not a sewer and would like to purchase some of these let me know. I sell them for $5 a piece and they make for a unique baby present!  


Tuesday, April 3, 2012

Chicken Spaghetti

I had all the ingredients for Chicken Spaghetti tonight so that's what we had for dinner tonight! Here is my recipe and the step by step direction.

Ingredients:
2-3 Boneless skinless chicken breast
1 small package Velveeta cheese
1 can Rotel tomatoes
1 can cream of chicken 
Your choice of pasta (I used Fettuccine because that's what was in the pantry)
Salt & Pepper 
Mushrooms (optional)
Back olives (optional) 


Step 1: 
In a large pot place chicken breast and boil until chicken is cooked through. Remove chicken once done and place on cutting board. Save this water and keep it boiling for your pasta.


Step 2:
Dice Velveeta and place in a large pan with Rotel (don't drain it) and the cream of chicken. Mix together and heat over low heat until all melted together.


Step 3. 
While cheese mixture is melting together put noodles in the water (the same water you boiled your chicken in) cook according to the time on the package. I only used about 3/4 of the box of mine. I don't like a dry chicken spaghetti - I'd rather have more cheesy goodness! 


Step 4:
While noodles are boiling and cheese is melting shred your chicken. After chicken is shredded I sprinkle it with salt and pepper. 


Step 5:
Drain pasta when done boiling and return to same large pot and add in the Velveeta mixture and the chicken. Mix all together. If you use the mushrooms and black olives add them in at this step.


Step 6:
Place in a 9X13 pan and cover with foil. Bake at 350 degrees for 25-30 minutes. I topped mine with a little extra cheddar cheese so I baked it for an additional 5-10 minutes with the foil off. 


 Step 7:
Chow down and enjoy!


Saturday, March 24, 2012

Liquid Laundry Detergent

I love making my own laundry detergent! It is so much cheaper and it works great. I have used the powder and the liquid now and I think I prefer the liquid. My washer and dryer are located in my garage so I don't mind having a huge 5 gallon bucket beside the washing machine. I think if my laundry room was inside it might be a different. So here we go!

Ingredients: 
1 bar soap (Fels Naptha, Zote, or Ivory)
1/2 c Borax
1 c Washing soda 
4 cups water
Large 5 gallon bucket with lid (I think mine is actually 6 gallons)


Step 1: 
Grate the soap 


Step 2:
Take the 4 cups of water and pour into a large pot and then add soap shreds. Stir constantly over medium heat until soap is melted. You can use a whisk or spoon to stir - mixture will be pretty foamy when all the soap is melted. 


Step 3:
Fill your 5 gallon bucket 1/2 way up with hot tap water 


Step 4:
Add soap mixture then add in the Borax and the Washing soda and stir well. Check out my handsome little helper :) 


Step 5: 
Fill 5 gallon bucket the rest of the way up with hot tap water 


Step 6:
Cover with lid and let sit overnight. 

Next day you can take the lid off and make sure the detergent set up. It will be very congealed and gel like. Use 1/2 a cup per load of laundry. This detergent wont stud up like a store bought detergent.


Note: I used Zote soap for my detergent and it is a great stain fighter! I actually keep a bar beside my washing machine to rub straight on a stain. I have gotten tough stains out that have been washed and dried in. Next time I have one I will be sure to blog on it! 


Tuesday, March 20, 2012

Ruffles!

I've been looking everywhere to try and find a good ruffle tutorial! I don't know if I just wasn't looking in the right place or what but I went straight to the source: my sewing machine. I was determined to figure it out - so with some trial and error I finally got it. Here are 3 different type of ruffles I figured out how to make.

I used Muslin fabric & matching thread

Things to know!

#1 Set your sewing machine stitch to the longest straight stitch (as you can see mine is a #6)


#2 Set your tension on your sewing machine to the highest it will go (mine is 9)


#3 Don't back stitch

Ruffle #1 (Right down the middle)

First I cut my fabric into 3 inch strips

Place the fabric in and start sewing straight down the middle of your strip of fabric 


You will see when the fabric is coming out the back side it's already a ruffle! 


Ruffle #2 (Double Ruffle)

 On this ruffle I did the exact same thing as ruffle #1 but I moved the seam over to about a 1/4 inch and ran the stitch down one side - turned the fabric around and did the same thing on the opposite side 


Ruffle #3 (Edge Ruffle)
 
Run a straight stitch down one edge of the fabric 


(This ruffle would be great if you were making a skirt and layering the ruffles )

Here is what I used my ruffles for this time!


Friday, March 2, 2012

Outdoor Chalkboard

Summer is approaching fast so I am starting to get some outdoor activities ready to keep Jasper busy! He's recently been into coloring so I thought about making a outdoor chalkboard. I saw a recipe on Pinterest on how to make your own chalkboard paint here Going Home to Roost. I know you can buy it already made but, by doing it this way you can use whatever color paint you want. So here we go! 

Materials you will need:


Board
Non-sanded grout 
Roller & paintbrush
Disposable cup
Plastic spoon to mix with
Flat latex paint (I got a quart of black)

Step 1:
Measure out 1 cup of water and pour into your disposable cup. Get a sharpie and mark on the outside where the 1 cup mark is. Dump the water out and dry the cup.


Step 2:
Pour your paint into the cup 


Step 3:
Add 2 Tablespoons of the grout 


Step 4:
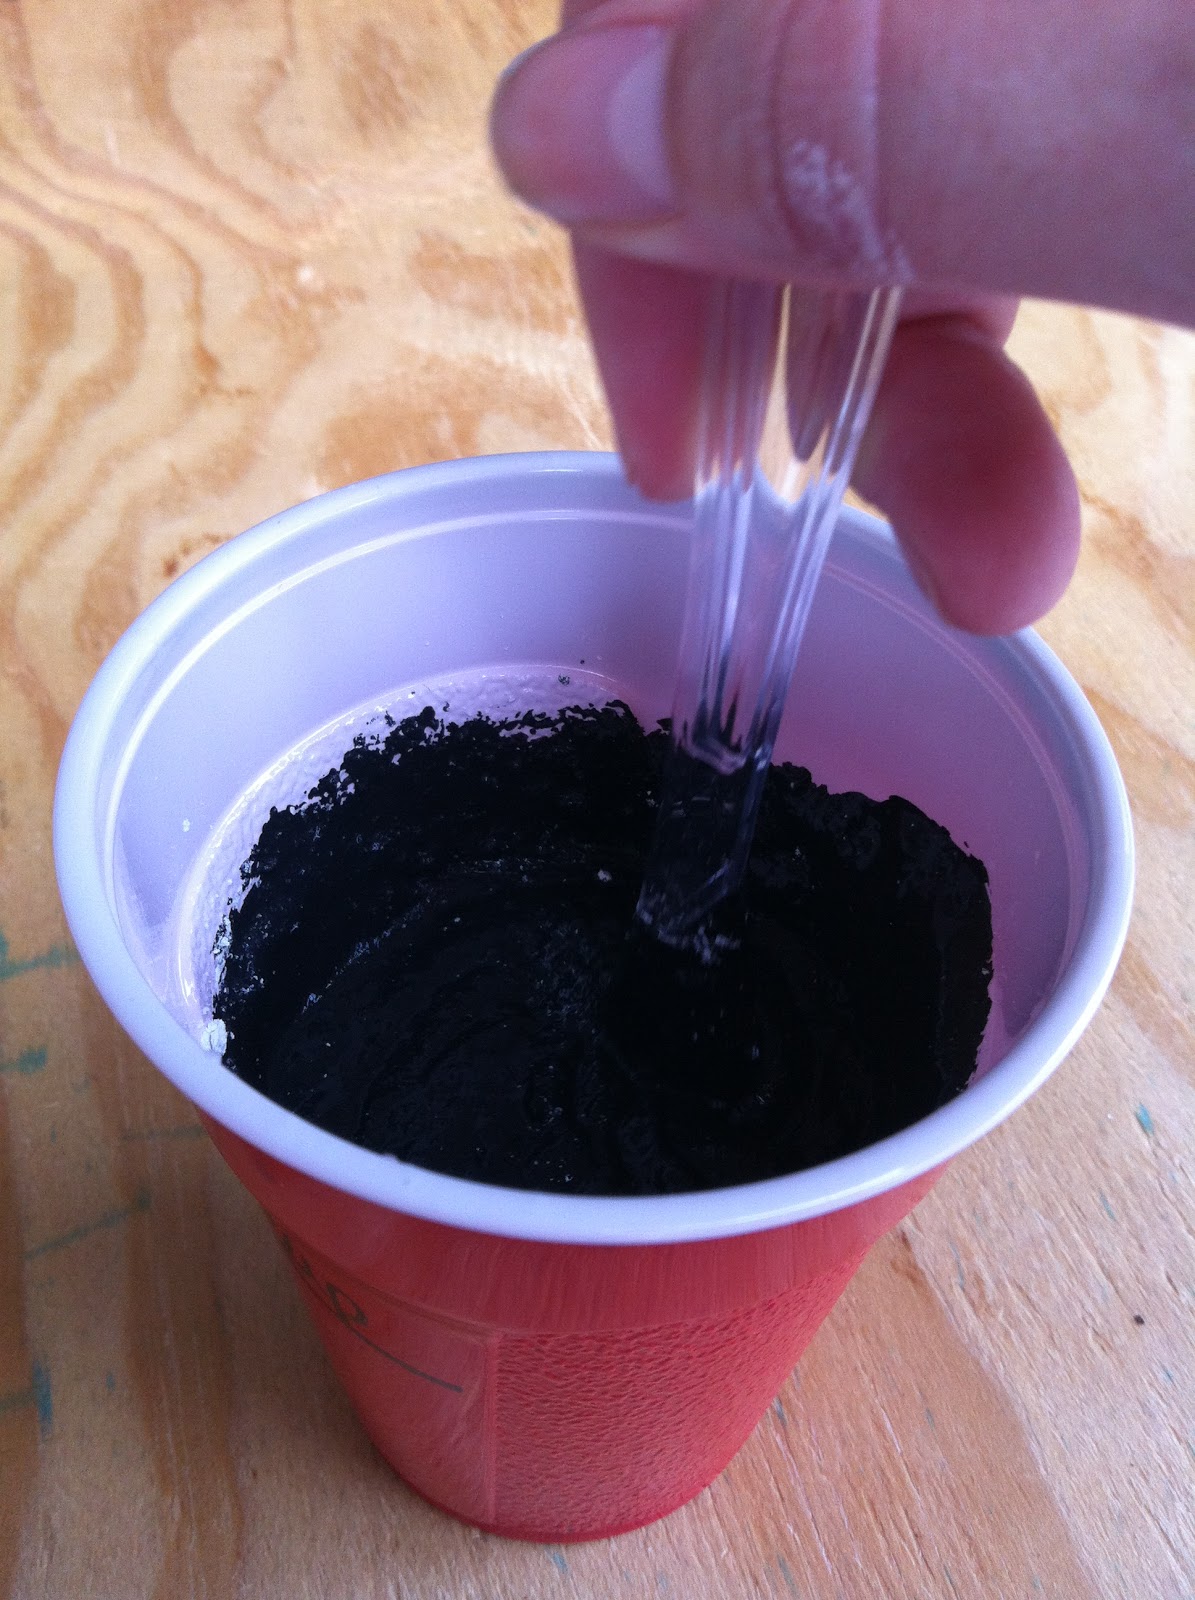
Mix the paint and the grout together (this mixture will be very thick)


Step 5:
I tried pouring the mixture into the paint tray and rolling it on but this was no good at all for the first coat of paint. So I recommend just keeping it in the cup and using a paint brush. I noticed that if I used the paintbrush and then went over what I just painted with the roller that worked best for me.

(this was no bueno)


Step 6: 
Let the board dry and put as many coats as you want on. I put 3 coats of paint on mine and it took 2 cups of the paint/grout mixture. (On the website I got this recipe it says to only mix 1 cup at a time) 


Step 7:
Prop your board up and paint all the sides if you desire - then let completely dry


Step 8: 
Drill holes into your board. I drilled 8 since my board was pretty heavy. 


Step 9:
Attach to fence (I used screws to attach my board)


Step 10:
Let the little one get creative!