Sunday, December 11, 2011

Christmas Wreath

I wanted a new wreath for my door for this Christmas because my old one needed to be retired. I saw this one on pinterest but saw no instructions for it so, I created my own.

Here is what you will need:

A straw wreath (leave plastic wrap on)
Yarn (I used white)
Felt (I used Red & Green)
Small jingle bells
Hot glue gun & glue sticks
Scissors
Needle and thread (thread needs to match the color of your felt)

Step 1:
Take your straw wreath and tie a knot and begin wrapping your entire wreath with the yarn. I found that wrapping the yarn really tight together works the best. (I'm really sorry but I have no pictures of this step!)


Step 2:
Depending on what type of flowers you want to put on your wreath make a cut out template of the shape you want. I wanted a Poinsettia look. Here are the patterns I used. The one in the top left is the pattern for the leaf and the rest are 3 different sizes of the petals I used.

Step 3:
Next trace around the stencil on to your piece of felt. I made 4 flowers for my wreath so I cut out 10 of the large petals, 18 medium petals, 6 small petals, and 4 leaves (this in the green felt).


Step 4:
Cut out all the petals and leaves (I made 2 sets of flowers - one for my sister's wreath so my hands were cramping by the time I got done cutting everything out). Now divide up all the different sizes of the petals into piles.


Step 6:
Place a small dot of hot glue in the middle of the bottom of the petal - then pinch the edges together (careful: hot glue gun might cause cursing and burnt fingertips). You will just glue and pinch together the medium and small sized petals (not the large petals or the leaves).


Step 7:
Next step you will thread your needle and I doubled my thread to make it more strong and tied a knot at the end. Next I took 6 petals (make sure they are all facing the correct way) and threaded them onto the needle. Now take your needle and you will loop it through down where the knot is so when you do this and pull it tight it will make all the petals pull together tight. I knotted this a few times and made sure all the petals were pulled really tight.


Step 8:
Now take 5 of the large petals and lay them down in the pattern you want. I laid out the pattern then would glue them after I got the pattern I wanted. I gently lifted the petals up one at a time put some glue down and laid it back down in the same spot.


Step 9:
Now take the petals that are sewed together and lay it down on the flat petals and find where it looks good. Now hot glue the entire flower on top of the larger flower.


Step 10:
I found these little jingle bells at Hobby Lobby and thought they would be great for the center of the flower. I squeezed out some hot glue on a paper plate and dipped the jingle bell in the glue then placed it in a triangle shape in the center of the petals (this covers up the imperfections too).


Note:
I made 2 of the double layered flowers and 2 of just the top flowers (the petals that were sewed together) so 4 flowers total.

Step 12:
Next take your wreath and see where you want to position your flowers and leaves. Once you have it in position hot glue them down.


I took a ribbon I already had and looped it around the wreath and tacked it in the top of my door. This whole project was less than $10 - but is pretty time consuming. But that is what crafting is all about right??

Sunday, November 27, 2011

Swiffer Reusable Cleaning Pads

About a year ago I started couponing - and found a great deal on a Swiffer Wet Jet so I bought one. I don't know really what I was thinking but hey I thought it would make my life easier. Eventually it just hung in the garage because I hated buying the expensive disposable pads for it. With an almost 2 year old little boy I sweep MULTIPLE times a day and mop about every other day (my kitchen and dining room are laminate wood floors). Here is my tutorial on how to make very inexpensive reusable swiffer wet jet pads.

What you will need:

Swiffer
Pack of inexpensive washcloths (I got mine at Walmart a 12pack for less than $4)
Velcro
Sewing machine and thread

Here is a picture of my Swiffer Wet Jet:


I bought a inexpensive pack of washcloths at Walmart (and washed them first)


Fold the washcloth in half


I next sewed around 3 of the 4 edges - leaving open a pocket on the end (next time I will sew closer the edge to give me a longer pad)


This is after sewing 3 of the 4 edges and next I will turn this inside out


Here is the open pocket at the end (Next time I will probably sew this about 1/2 way closed first and just finish the other 1/2 when I turn it inside out - so I don't have to sew such a large area closed)


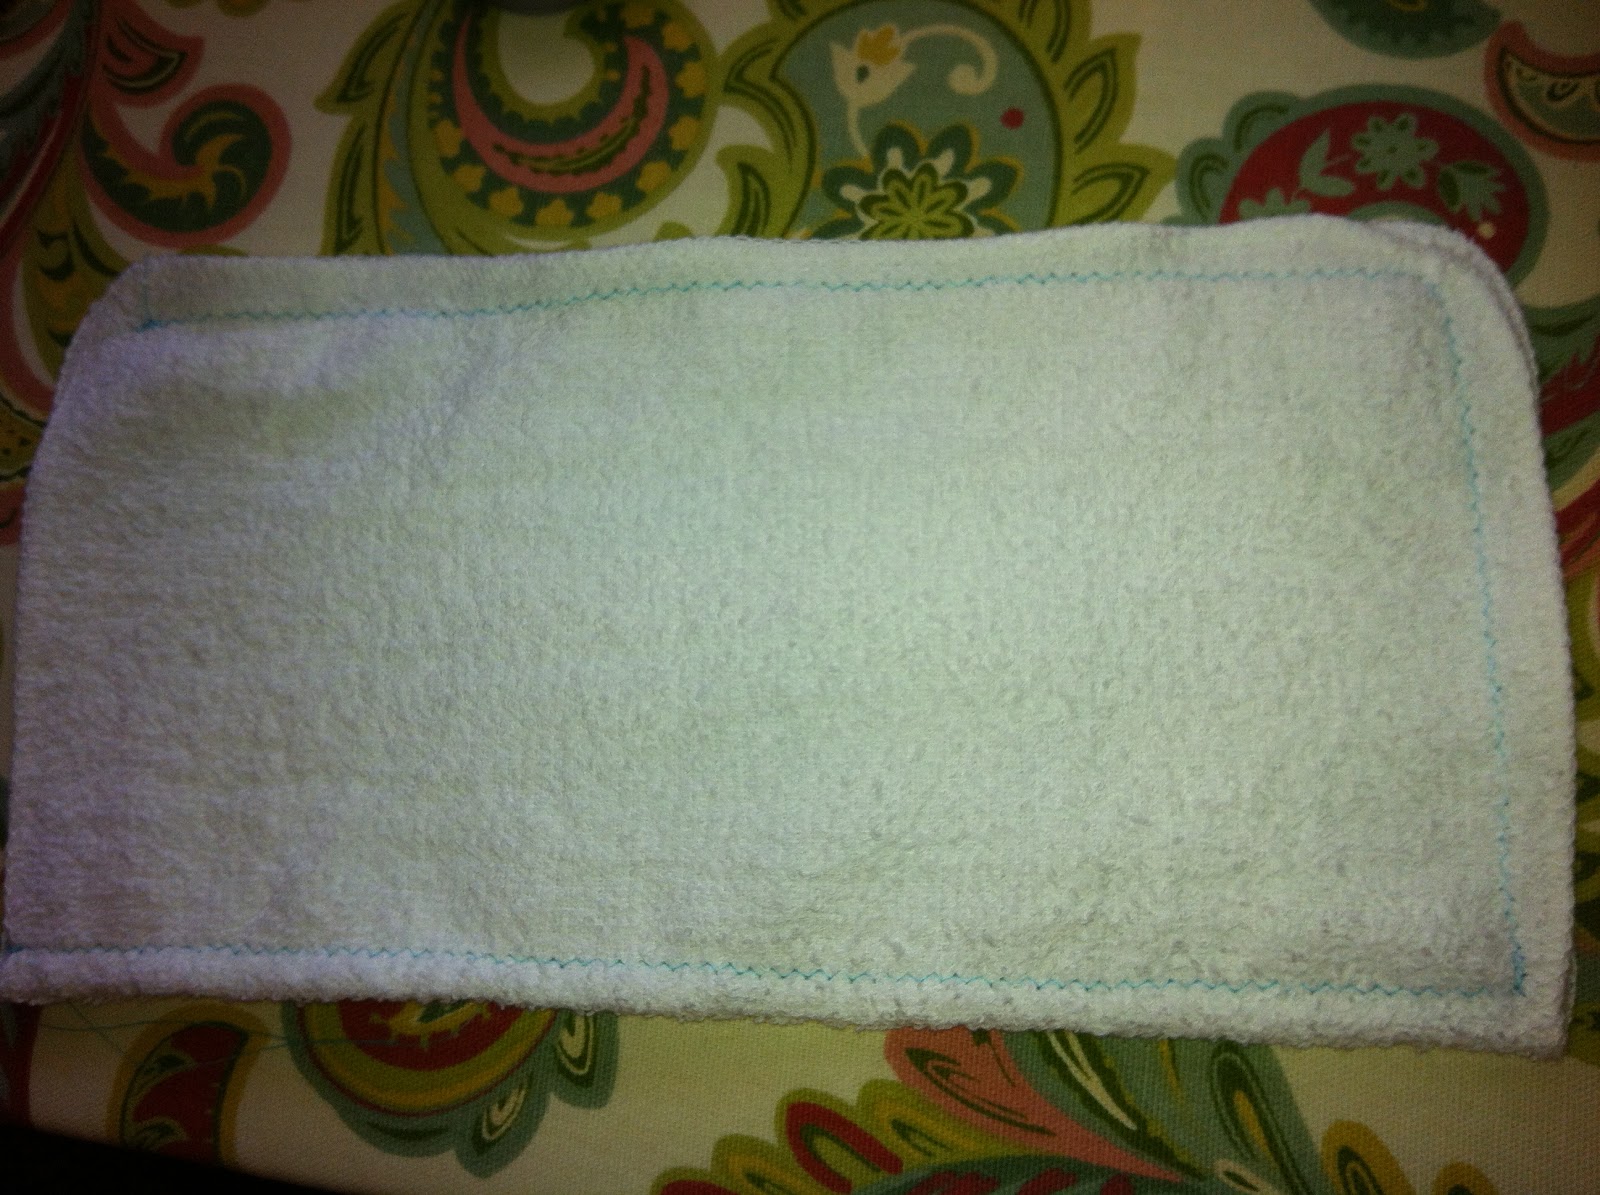
Next I turned the edges inside and pinned the pocket closed. Then I sewed a top stitch all the way around the pad which sewed the pocket closed as well.


Here is the top stitch all the way around. I wanted to do this to give my pad some more durability since I knew I would be scrubbing with it and be washing it multiple times so I didn't want it coming apart. Also I thought it gave it more of a finished edge.


Here are my 2 pieces of Velcro. You will only need the soft part of the Velcro (since the prickly part of the Velcro is already on your Swiffer) So you will use the Velcro on the right in the picture below.


Next I measured the Velcro to go the entire length of my pad cut it and pinned it


I used a small zigzag stitch and went down both edges of the Velcro


Here is a closer look

Next attach to your Swiffer and go! Notice mine is a little short for my Swiffer so next time I will try and sew a little closer to the edges so I can get a little more length - but either way it works great! and I think they scrub better then the disposable pads.

I hope this tutorial will help your family save a little bit more! This whole project cost me around $10 and that was for 12 washcloths and the Velcro for all 12 pads. These reusable pads will last me a very long time. Especially compared to a 12 pack disposable cost around $7.

Friday, October 28, 2011

Jasper's New Fort

So I am addicted to Pinterest and saw this idea to make a fort beside the crib/bed. There were never really any clear instructions so I came up with my own.

First thing I did was measure the area I wanted to Fort to go. I knew I wanted it to be cubed shaped. So I went to Lowes and got 9 pieces of PVC pipe each 5ft long 1/2 inch thick, 2 elbows, and 6 - 90 degree side outlet (my store only had ones that were ribbed on one side so I ended up having to get these extenders to screw in so the PVC would fit). Everything ended up costing me around $15

I used a small hacksaw to cut all my pieces into the sizes I needed


Next I started assembling it! I didn't want there to be a bar across the opening so I left it open. This is the base of the Fort. Using 3 pieces of the PVC, the 2 elbows, and 2 of the 90 degree inserts. Make sure the elbows and inserts are facing the correct way to insert the next piece of PVC.


 Start building up with 4 pieces of the PVC pipe and attaching the remaining 4 - 90 degree inserts


Put in the remaining 4 PVC pipe - I didn't press it together very tight at the point because I knew I was going to need to get it apart to put the fabric on.


I didn't do any picture instructions for the fabric curtains I made for the fort (Sorry!!). If you don't sew you can always use Hem tape and just make a small pocket for the PVC to fit into - or even use Velcro. I just sewed a small pocket. Once the fabric is all on I pressed the PVC pipe together really firmly to set it. You can always use PVC glue but I knew I might want to move mine around and change the fabric eventually so I didn't glue mine.  

I love how it turned out! I found this vintage red and cream fabric at Hobby Lobby for $3.99 a yard (It was on sale for even less than that) I ended up getting 8 yards for around $20. So the whole project cost me less than $40 and Jasper loves playing in it!

Friday, October 21, 2011

Filing Cabinet Revamp

My mom came to visit a couple of weeks ago - and when she is here I take advantage of her as much as I can! We sewed, and sewed, and sewed! After she leaves it always makes me motivated to keep on with all my projects. We re-did the guestroom (and others)  on this trip and turned it into craft room/guestroom instead of home office/guestroom. I needed a place to keep all my files and extra craft items so I bought an old filing cabinet and decided to vamp it up a little!

Old filing cabinet on craigslist for $20


I spray painted the cabinet a nice cream color (2 cans of spray paint $8)


I removed the drawers and the hardware

Next I cut out a piece of fabric slightly larger than the face of the drawer (Fabric on sale at Hobby Lobby $4 a for a yard - didn't even use 1/2 a yard though so I will make a pillow out of the remaining fabric)


I didn't have any Modge Podge around the house so I made my own by mixing equal parts Elmer's glue and water (I put mine in a old water bottle I had and shook it up really well). Next I coated the front of the drawer face really well with the glue and laid the fabric on top smoothing it out so there were no air bubbles or creases. I used clothespins to hold the edges down (it didn't take it long to dry at all)


I know no one was going to see the back so I didn't do a perfect job but i did make sure to tuck the corners nice and neat. I reattached the old hardward because it wasn't in bad condition.

Finished product! I am so happy about how it turned out and for around $30! It goes really well with my new craft/sewing table I made (It's currently a mess so I did not include a picture - but will as soon as it gets cleared off)


Here are a few more project my mom and I worked on while she was here! Sorry I do not have tutorials on them!
Master bathroom curtain:

New fabric book "shelf" in Jasper's room - it's perfect for him to get the books out himself:


Guest bathroom curtains:

Thursday, August 25, 2011

Fabric Key Chain

I love to make these and I think they are so great and handy! Here is my tutorial on how to make them. If you don't know how to sew or would like one please let me know and I can make one for you. Ok here we go!


What you will need:
Fabric of choice (matching thread)
Corresponding ribbon (machine thread)
Swivel Hook
Interfacing

Step 1 cut a strip of fabric that is 3inches wide and 15inches long.


Step 2 you will fold the fabric in 1/2 long ways with the pattern on the inside (so the back of the fabric is showing) then you will iron this so you will have a crisp line


Step 3 cut a strip of interfacing that is 1inch wide and 14inches long and then iron it on one side of the fabric


Step 4 Sew down on each side of the fabric (still will be inside out) I did a zig-zag stitch and I went over it twice


Step 5 turn your fabric right side out - I do this by attaching a large safety pin on one end of the fabric and working it's way up until the fabric is right side out


Step 6 Iron the fabric so it is nice and flat for you.

Step 7 You will take your Purse Swivel Hook (I found mine here: http://www.lanyardsupply.com/) and you will slide this on your fabric


Step 8 Next you will loop the fabric into a circle and overlap the 2 raw edges and sew over the edges to connect the 2 sides (Once you have sewn this cut any excess off)


Step 9 Take the swivel hook and slide it down towards the edge where you just sewed and cut a piece of ribbon (about 3 inches long - you will be covering up that seem you just sewed with this fabric)


Step 10 You will wrap the ribbon around the seem (that connected the fabric together) and next you will tuck the 2 edges of the ribbon into the opening - then iron this so it will stay when you sew this on


Step 11 Sew on the edges of the ribbon (I just sewed the 2 edges - you could sew 4 so it would be in a square)


Step 12 Enjoy your new fabric key chain!