
I cannot believe I haven't blogged since April! Wow! We we did find out we are expecting Baby Butler #2 in January, so that might explain my absence. I haven't been crafting as much during Jasper's nap time because its turned into my nap time as well!
I had a baby shower this past weekend and made my friend a nursing cover (Blog instructional to come soon) and some pacifier clips. I know I have already done a blog on paci clips but I have found a much simpler and easier way to do this!
Supplies:
Fabric
Iron/Ironing Board
Corresponding thread
Sewing machine
Suspender/Pacifier clips (mine had a 1" opening)
Velcro or Elastic
Step 1:
Cut your fabric into a 4 X 10.5 inch strip

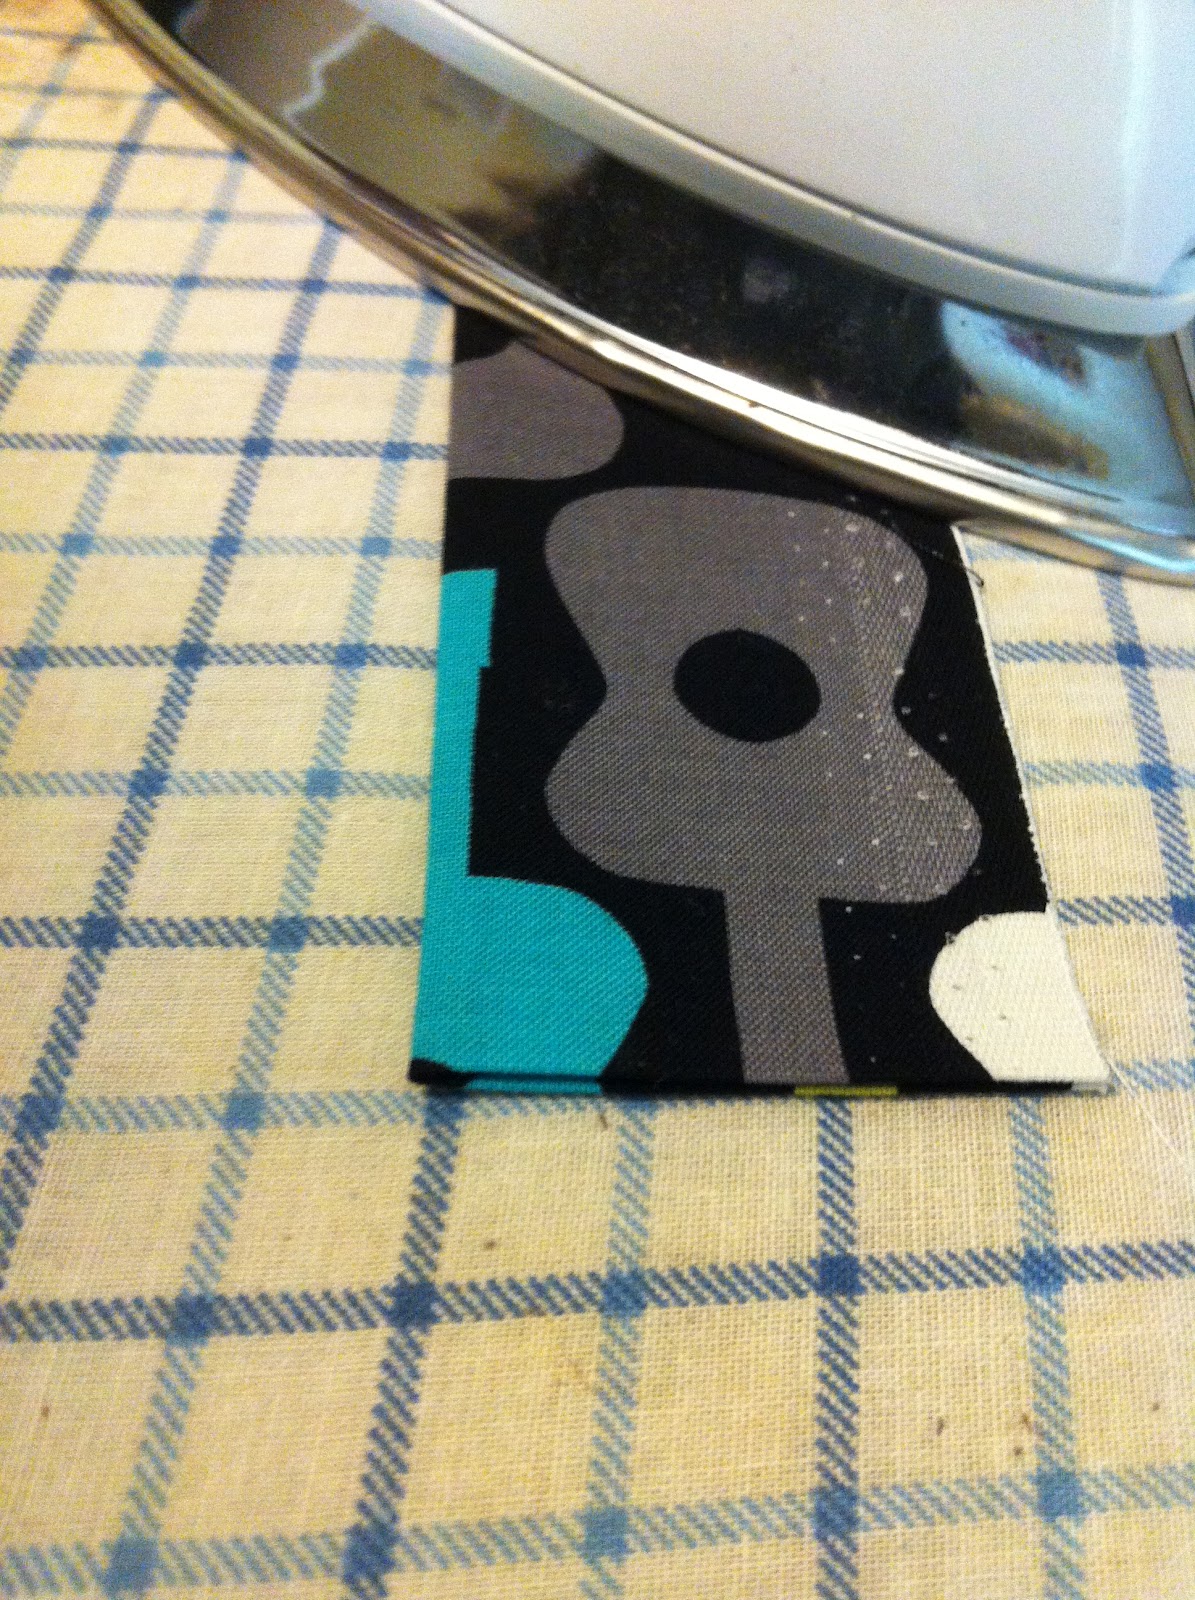
Step 2:
With the wrong side of fabric faced up iron a 1/4 inch crease on the short side of each fabric (see pic)


Step 3:
Iron fabric in 1/2 long ways (like a hotdog) the right side of the fabric will be showing (notice how the ends are nice and tucked in!)
Step 4:
Open this long crease back up and fold both sides in towards the middle (the crease) and iron this down


Step 5:
Iron fabric in 1/2 again (where we did the original crease in step 3) Now your fabric will be exactly 1 inch wide to fit into the suspender/paci clip


Step 6:
Sew a 1/8 inch inseam down both side of the fabric (be sure to do a good back stitch when beginning and ending)

Step 7:
Place suspender/paci clip on of the ends and fold over the fabric and pin. Sew a straight line across (try and get as close to the clip as you can). Also make sure the back side of your pacifier clip and the folded back fabric are both on the same side. You don't want that back fold of fabric showing.


Step 8:
This is the step where you can use either the elastic or the Velcro. I preferred the elastic because so many people use the Soothie pacifiers and the Velcro won't work with those. So here are the instructions for the elastic. Cut a 3-4 inch piece of elastic and fold into a loop. Place the ends of the loop into the other end of the fabric pocket (see picture). Put a pin in place to hold the elastic while you are sewing. Sew a straight line across.


Step 9:
Attach Pacifier of your choice and enjoy!

Here are some of the other ones I made for the shower. If you are not a sewer and would like to purchase some of these let me know. I sell them for $5 a piece and they make for a unique baby present!

These are so cute and look store-bought!!
ReplyDeleteAwesome job....thanks fro the great tut!!!! I need to make some tomorrow for my new 18 day old grandson who has lost 3 soothers already lol (pretty sure mom lost them) you saved my butt!!!!!!
ReplyDeleteSo glad this could help you MissScrapAlot!
DeleteI Just found this on pinterest so thank you to who ever pinned it!!! I was sitting here with the clips and some adorable fabric looking for an alternative to snaps and buttons and found your elastic which is PERFECT!!! Thank you so much! When I finish the paci clips I plan on looking through your blog!
ReplyDeletethanks~jen
I am NOT anonymous I am www.overholt8.wordpress.com but Blogger HATES me right now!
Thanks for this!! I love your exact step by step! I am a beginner sewer and these turned out perfect!
ReplyDeleteMay I ask, how do you use the elastic to attach to the pacifier? Do you put the elastic through the pacifier, then pull the holder through the elastic loop? Thank you for the help.
ReplyDeleteI had the same question. You can see it here: http://www.makeit-loveit.com/2014/08/diy-pacifier-clips-no-more-droppedlost-pacifiers.html. You do a french knot, and just pull the strap through.
DeleteNot sure what the Reply Delete means, but please reply. Thank you.
ReplyDelete