
Summer is approaching fast so I am starting to get some outdoor activities ready to keep Jasper busy! He's recently been into coloring so I thought about making a outdoor chalkboard. I saw a recipe on Pinterest on how to make your own chalkboard paint here Going Home to Roost. I know you can buy it already made but, by doing it this way you can use whatever color paint you want. So here we go!
Materials you will need:

Board
Non-sanded grout
Roller & paintbrush
Disposable cup
Plastic spoon to mix with
Flat latex paint (I got a quart of black)
Step 1:
Measure out 1 cup of water and pour into your disposable cup. Get a sharpie and mark on the outside where the 1 cup mark is. Dump the water out and dry the cup.


Step 2:
Pour your paint into the cup

Step 3:
Add 2 Tablespoons of the grout

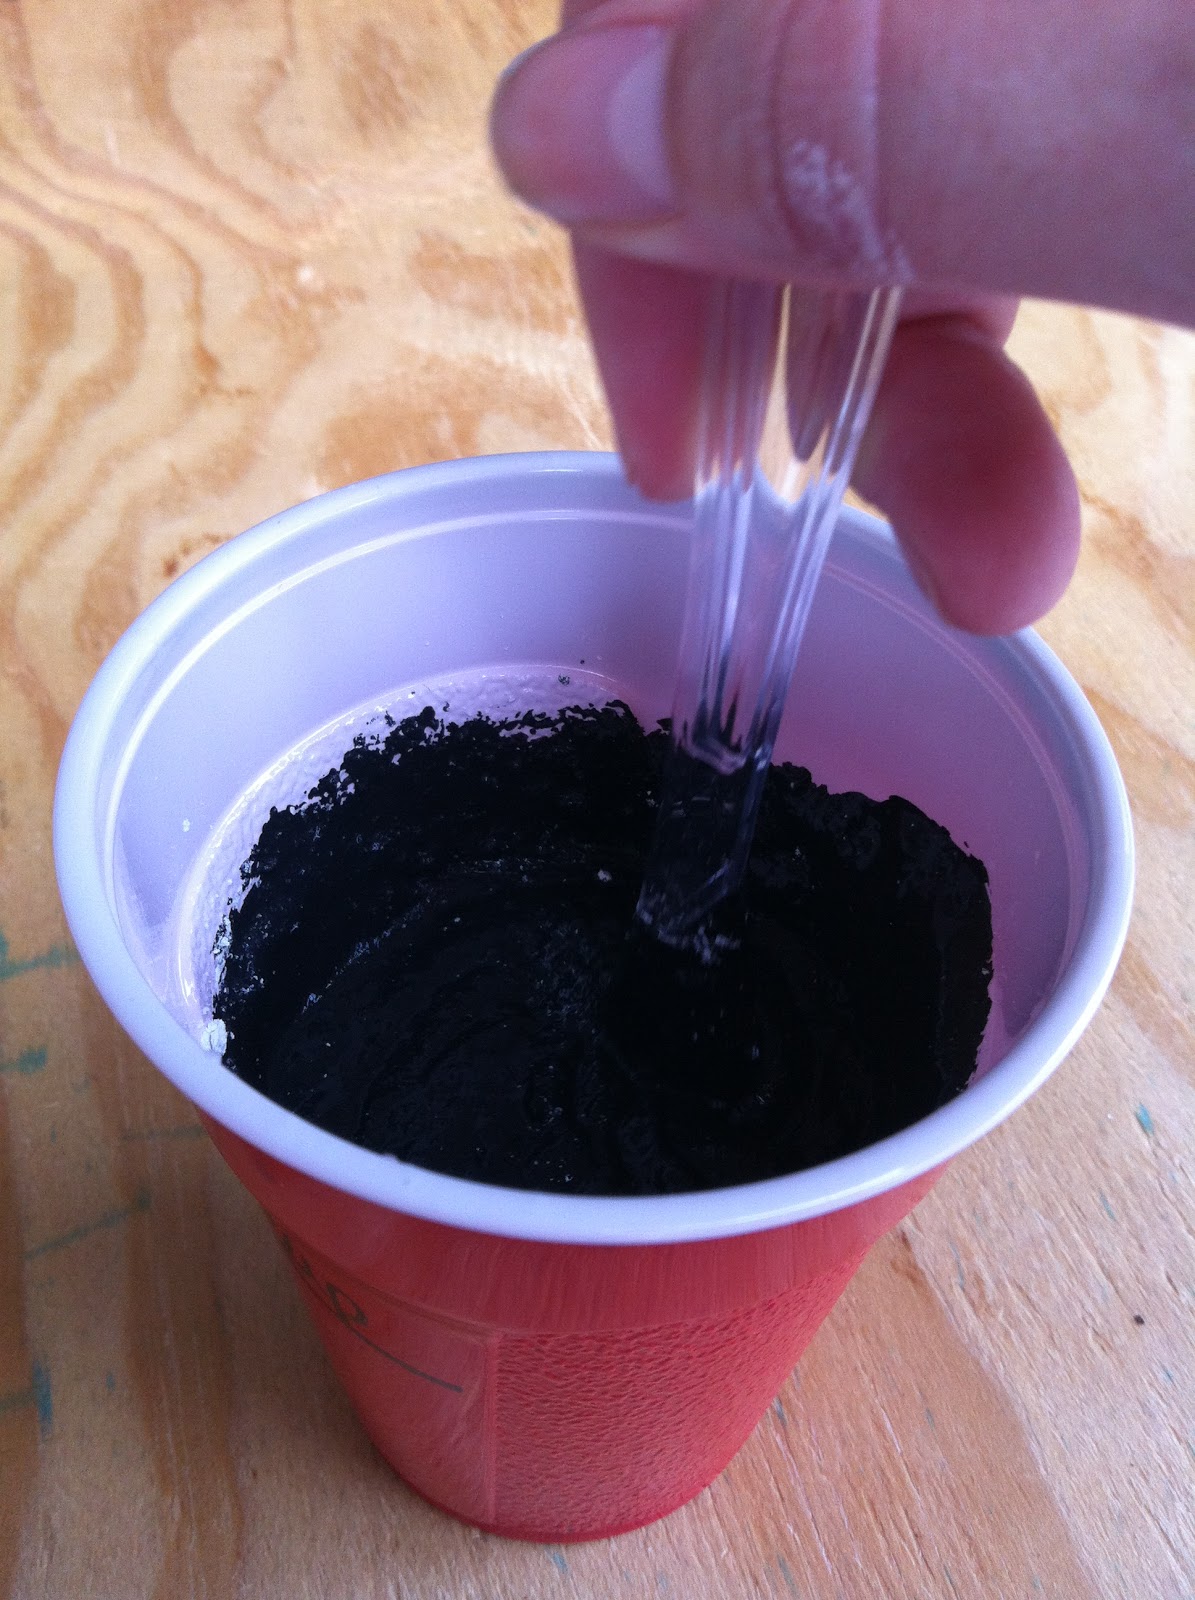
Step 4:
Mix the paint and the grout together (this mixture will be very thick)
Step 5:
I tried pouring the mixture into the paint tray and rolling it on but this was no good at all for the first coat of paint. So I recommend just keeping it in the cup and using a paint brush. I noticed that if I used the paintbrush and then went over what I just painted with the roller that worked best for me.

(this was no bueno)

Step 6:
Let the board dry and put as many coats as you want on. I put 3 coats of paint on mine and it took 2 cups of the paint/grout mixture. (On the website I got this recipe it says to only mix 1 cup at a time)

Step 7:
Prop your board up and paint all the sides if you desire - then let completely dry

Step 8:
Drill holes into your board. I drilled 8 since my board was pretty heavy.

Step 9:
Attach to fence (I used screws to attach my board)

Step 10:
Let the little one get creative!

Neat idea!! Jasper is soooo cute!
ReplyDeleteThanks great directives!
ReplyDeleteThanks for making it look so easy, I am going to give this a try! :)
ReplyDelete